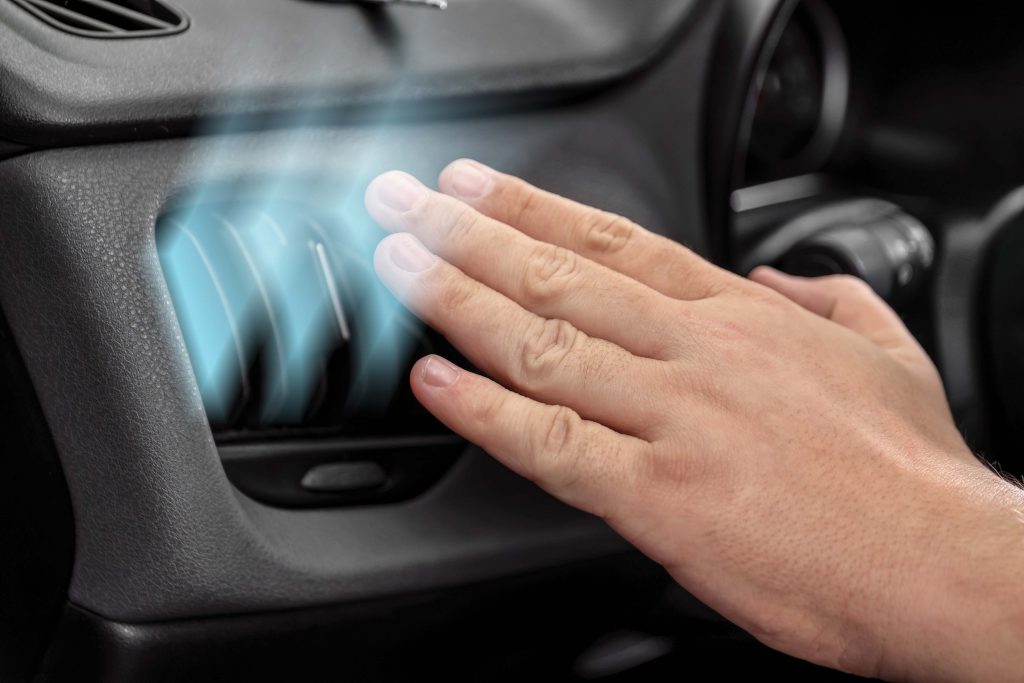
As the summer heat beats down, we want our homes and vehicles to keep us cool. But what happens when your car’s AC system isn’t working properly? For those willing to tackle a DIY project, there are some steps you can take to recharge your auto’s AC.
First, purchase a charge kit for your car. Consult your local auto parts store for the appropriate one for your vehicle. Then, take the following steps, courtesy of DIY Network, to get your car back to being cool and comfortable.
Step 1: Find the low side port
Next, find the low side port of your A/C system. This will be the barb on the larger tube between the compressor (mounted to the engine and with a belt) and the evaporator (a large aluminum can). If in doubt, consult your service manual or local auto parts store.
Step 2: Attach the refrigerant
Screw the dispenser hose and gauge onto the can of refrigerant. Attach to the low side port by pulling back the outer slip ring, pushing it on, and releasing the ring. Next, start the engine, turn the A/C system on max, and check the gauge reading. The compressor clutch should be engaged and the front of the compressor should be spinning. If the pressure is lower than 20 psi and the compressor is not engaged, then dispense refrigerant until the clutch engages. Be sure to shake the can first and every 3-4 seconds later.
Step 3: Continue dispensing refrigerant
Consult the pressure chart in the refrigerant instructions for the proper system pressure. Continue dispensing refrigerant and rechecking the pressure until the desired level is reached.
Step 4: Check for minor leaks
If you bought a UV kit, check the system for minor leaks so repairs can be made if necessary. Use the UV pen and examine all valves and junction points in the system.
Source: DIYNetwork.com


