By Brian Taylor
Before planning your spring cleaning or outdoor projects, consider ones you have perhaps been avoiding due to their “yuck” factor. Put on your grubby clothes, and let’s accomplish some messy or smelly but oh-so-satisfying DIY!
Skip the popcorn
If you hate the look of popcorn ceilings, you are not alone. Not just unfashionable, they are also often unsightly and unsanitary. Dust, cobwebs, and years of kitchen or cigarette smoke can make them appear dingy. While not the tidiest process, popcorn removal is straightforward and requires
simple tools.
Note: If your home was built before 1979, pick up an asbestos testing kit and test a small sample before starting this project.
Protect yourself from dust and debris with safety goggles and a dust mask or respirator. Secure plastic sheeting with painter’s tape to protect floors and fixtures. A sturdy ladder or scaffolding helps you safely reach a standard or cathedral ceiling. Fill a pump garden sprayer or spray bottle with hot water and soak small sections to moisten and loosen the popcorn. Then use a wide, flat-edged putty knife or drywall knife to easily scrape away the wet material.
Patch any imperfections in the newly bare surface with drywall joint compound. Smooth them out with a sanding sponge and follow up with a damp sponge. Finally, grab a paint roller, roller covers, and an extension wand. Bare drywall is thirsty, so consider two coats of primer and
up to two coats of ceiling paint. Roll up the debris in the sheeting and
discard it.
Strip and start fresh
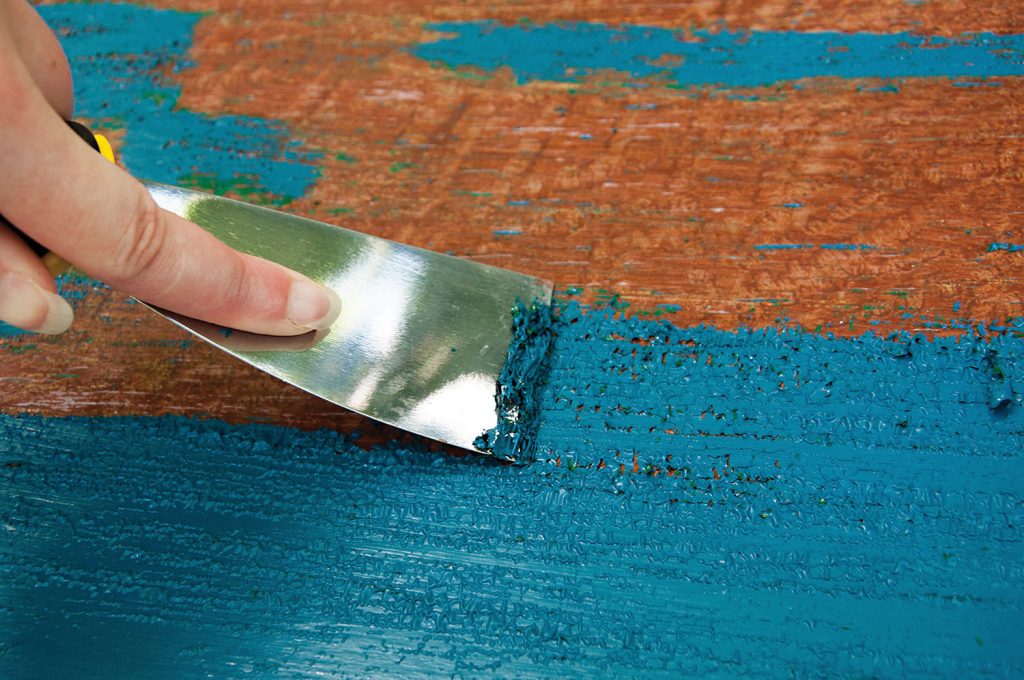
Painted cabinets or furniture can seem dated, so try stripping them. If upcycling is your bag, this multi-part (and time-consuming) process is well worth the effort. A heat gun helps soften up old layers of paint or varnish. Or pick up some paint-stripping solution, heavy-duty rubber gloves, drop sheets, and a scraping tool when purchasing a new stain finish and applicators.
Next, chat with the experts at your local hardware store, review some online tutorials for extra confidence and give it a go. Set up extra tables or sawhorses in your garage to create an assembly line and keep fumes out of the house. Finally, it’s a great time to update your pulls, handles, and hinges with a modern finish.
A wall-vival
Removing outdated wallpaper can be messy, but it’s easy with the right supplies. First, lay down drop cloths or plastic sheeting to protect your floors. If peeling off paper manually doesn’t cut it, grab a scoring tool to create small perforations in the paper. This allows a steamer or solvent to penetrate it and loosen the adhesive. Don’t be shy with remover solvent, as it may require a generous amount. After some time, use a wallpaper scraper or putty knife to gently remove long strips without damaging the wall underneath. Once all paper is removed, clean the wall with water and a small amount of dish soap. Repair any damage with spackle and sandpaper, then wipe down again before applying a fresh coat or two of paint.
Visit your local Do it Best store or doitbest.com for thousands of home improvement products.
Brian Taylor is the manager of Waynedale Hardware in Fort Wayne. He’s a member-owner of Do it Best, a Fort Wayne-based cooperative of thousands of hardware stores, home centers, and lumberyards throughout the U.S. and worldwide.


